
Homemade bread is absolutely delicious and the best thing is that you can control the ingredients you are adding to it. It may sound very daunting but making bread at home is one of the best things and once you learn the tricks and tips, it is really a breeze.
Making leavened bread at home requires yeast, either natural or packaged yeast. Sourdough starter is a natural yeast and instant yeast or active dry yeast are packaged yeast available in the grocery stores.
The first step is to make a soft dough using bread flour or all-purpose flour along with other ingredients like water, oil, salt, sugar, and yeast. Sometimes you may add other ingredients like nuts, seeds, or cranberries.
Most of the recipes to make bread require at least 2 rises. Some recipes like naan, or pizza will need only one rise. The phase where the dough rises and doubles in volume is called proofing.
Yeast helps the process of fermentation or proofing but it needs a warm environment. It can become challenging to proof the dough in a cold climate and it may take longer.
Thanks to the instant pot, with the yogurt button, you can easily prove the dough in just about an hour!
How to knead dough in stand mixer?
The first step to bread making is to make a soft dough. A stand mixer is very helpful to knead soft bread dough. If you are using active dry yeast then you will have to activate it in warm water for about 10 minutes before you start kneading the dough.
I like to use instant yeast as it can directly be added to the flour while kneading and there is no need to activate it. It is ready to use.
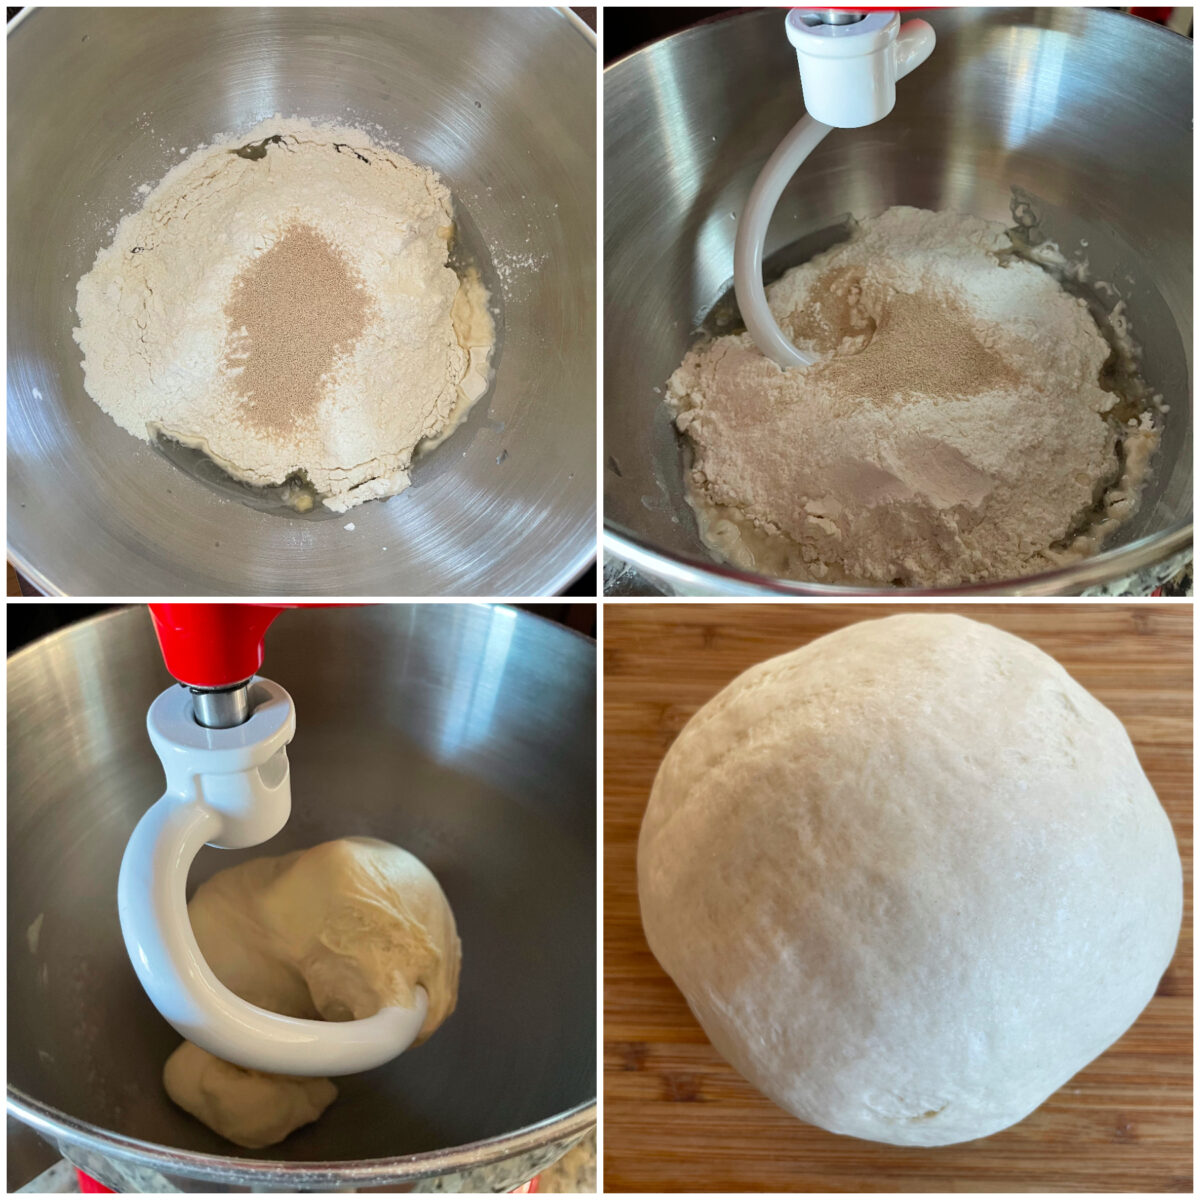
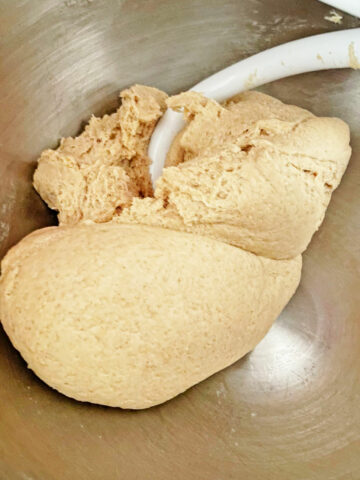
In the stand mixer bowl add all the wet and dry ingredients based on your recipe and then add the instant yeast on the top. Attach the dough hook and then knead the dough for about 12 minutes on setting 2.
After about 12 minutes you will see that a nice soft dough is formed and it no longer sticks to the sides of the mixer bowl. The dough is now ready for the first proofing.
Can you proof dough in instant pot?
Yes! You do not need to wait for a long time to proof the dough for making your favorite cinnamon rolls or cranberry bread. Instant pot is great to get the dough through the first rise.
After the first rise, you will have to punch the dough and give it the desired shape like dinner rolls or burger buns and then allow it to rise for the second time.
The best thing about using the instant pot for proofing dough is that it reduces the overall proofing time by half and you can bake your bread much faster and without waiting that long.
How to proof dough in instant pot?
If you are using the instant pot duo or the one with the yogurt setting, the process to proof dough in the instant pot is really very simple.
One important tip is to ensure that you do not use the instant pot lid but a glass lid that just sits on top of the liner. Using the instant pot lid can lock the instant pot if the dough proofs too much and it can become difficult to open.
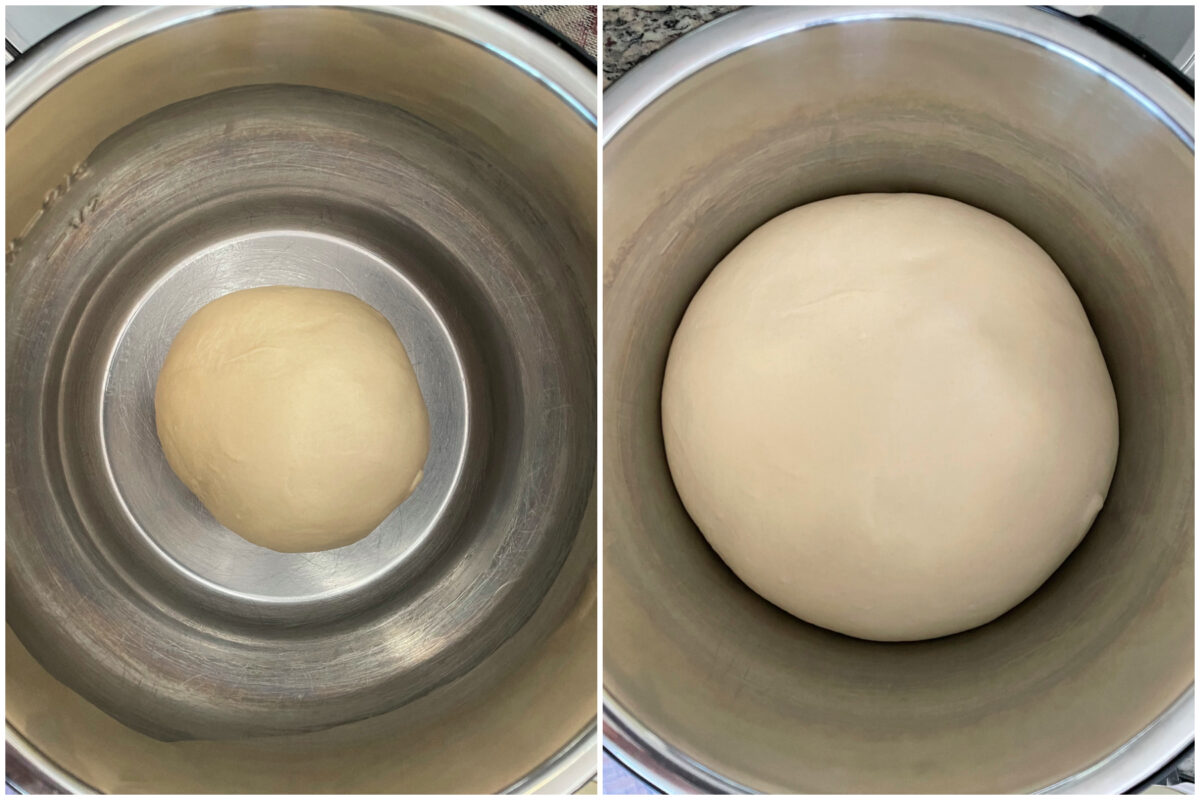
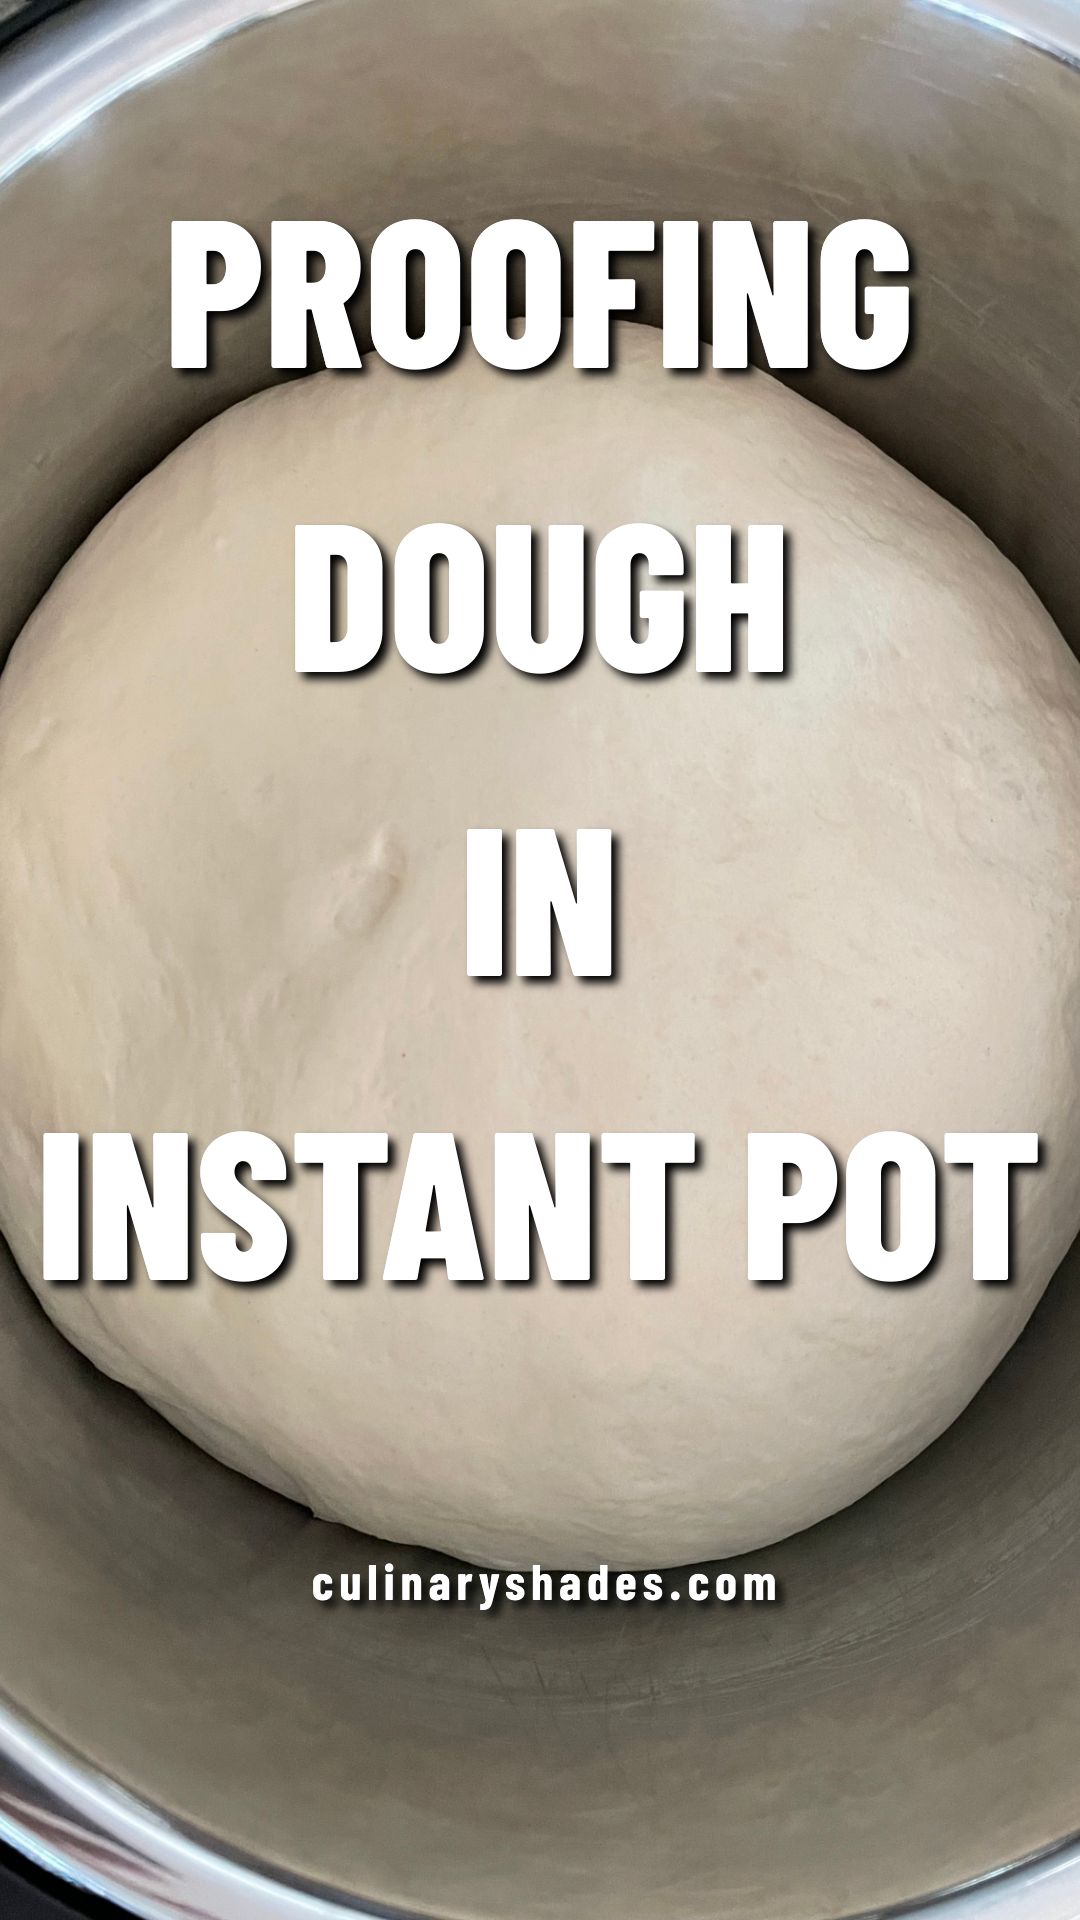
To proof the dough in the instant pot, first apply some oil to the base of the liner, this will avoid the dough from sticking to the bottom. Now place the dough in the liner and cover it with a glass lid.
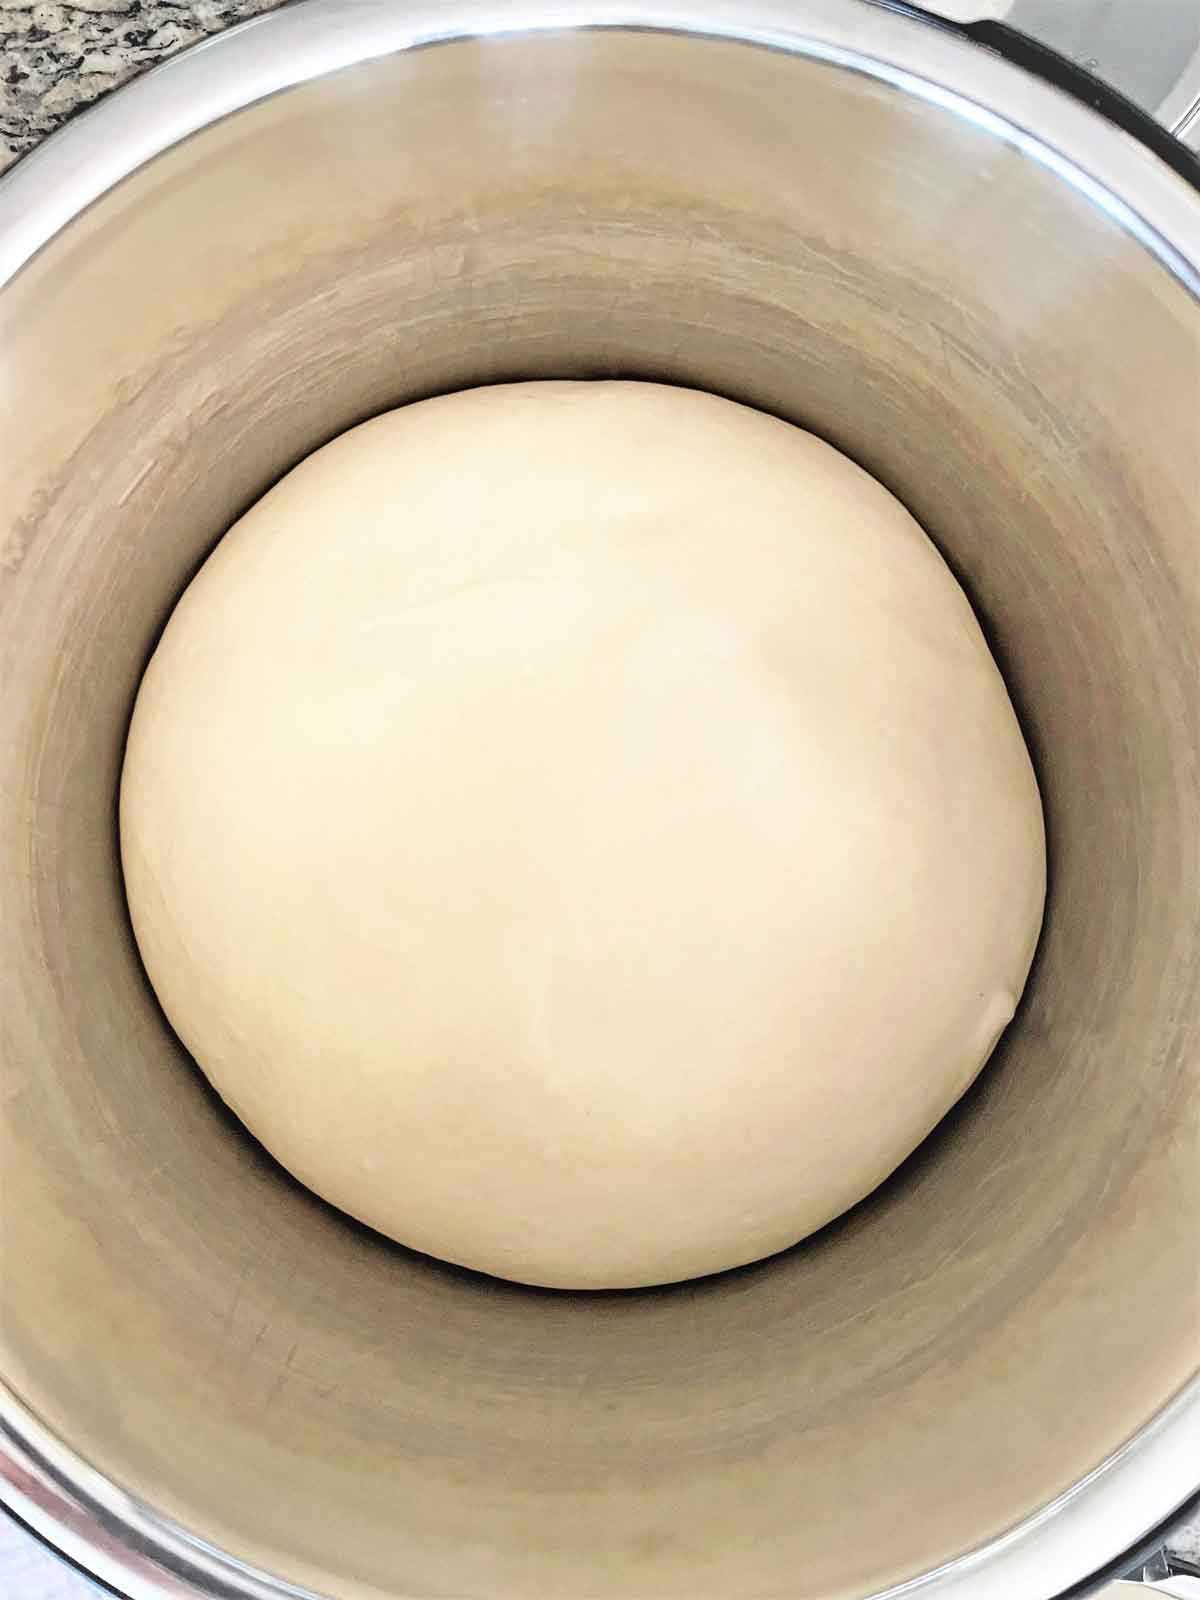
Press the yogurt button on the normal setting for 1 hour. In the meantime, you can prep the other ingredients if you need them. Once the timer is up, you can check that the dough is well-proofed and has doubled in volume.
Once the dough is proofed in the instant pot, punch it down and take it out on a lightly dusted floured surface. Knead it for a few seconds and now the dough is ready to be shaped and baked as per your favorite recipe.
Storage
You can store homemade dough in the refrigerator for 2-3 days. You can keep it loosely covered with a cling wrap and then shape it and keep it at room temperature for the final rise before baking.
You can also freeze the dough for up to 3 months and use it when you need it. Here is an ultimate guide on how to freeze dough.
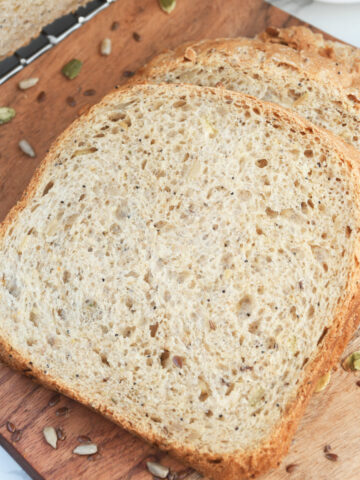
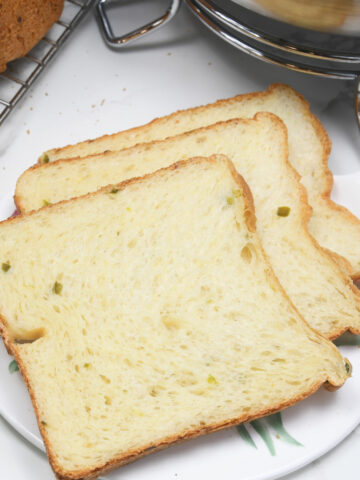
If you are wondering what to make with the dough, then take a look at this bread machine recipes. You can make the dough in the stand mixer and proof it in the instant pot for the first rise. The rest of the steps to shape, rise, and bake the bread remains the same.
Don't forget to rate the recipe by clicking the stars. Also, pin the recipe by clicking the "Pin" button, for your future reference.
📖 Recipe

Proofing Dough In Instant Pot
Equipment
Ingredients
For kneading dough
- 420 grams Bread Flour (3 ½ cup, or all-purpose flour)
- 4 tablespoon Oil
- 1 cup Water
- 2 tablespoon Organic cane sugar
- 1 teaspoon Salt
- 7 grams Instant Yeast (2 ¼ tsp)
For instant pot liner while proofing
- 1 teaspoon Oil
Instructions
Making bread dough in a stand mixer
- Add wet and dry ingredients in the stand mixer bowl. Put the yeast at the last on top of the flour.
- Knead the dough with the stand mixer dough hook for 12 minutes on setting 2.
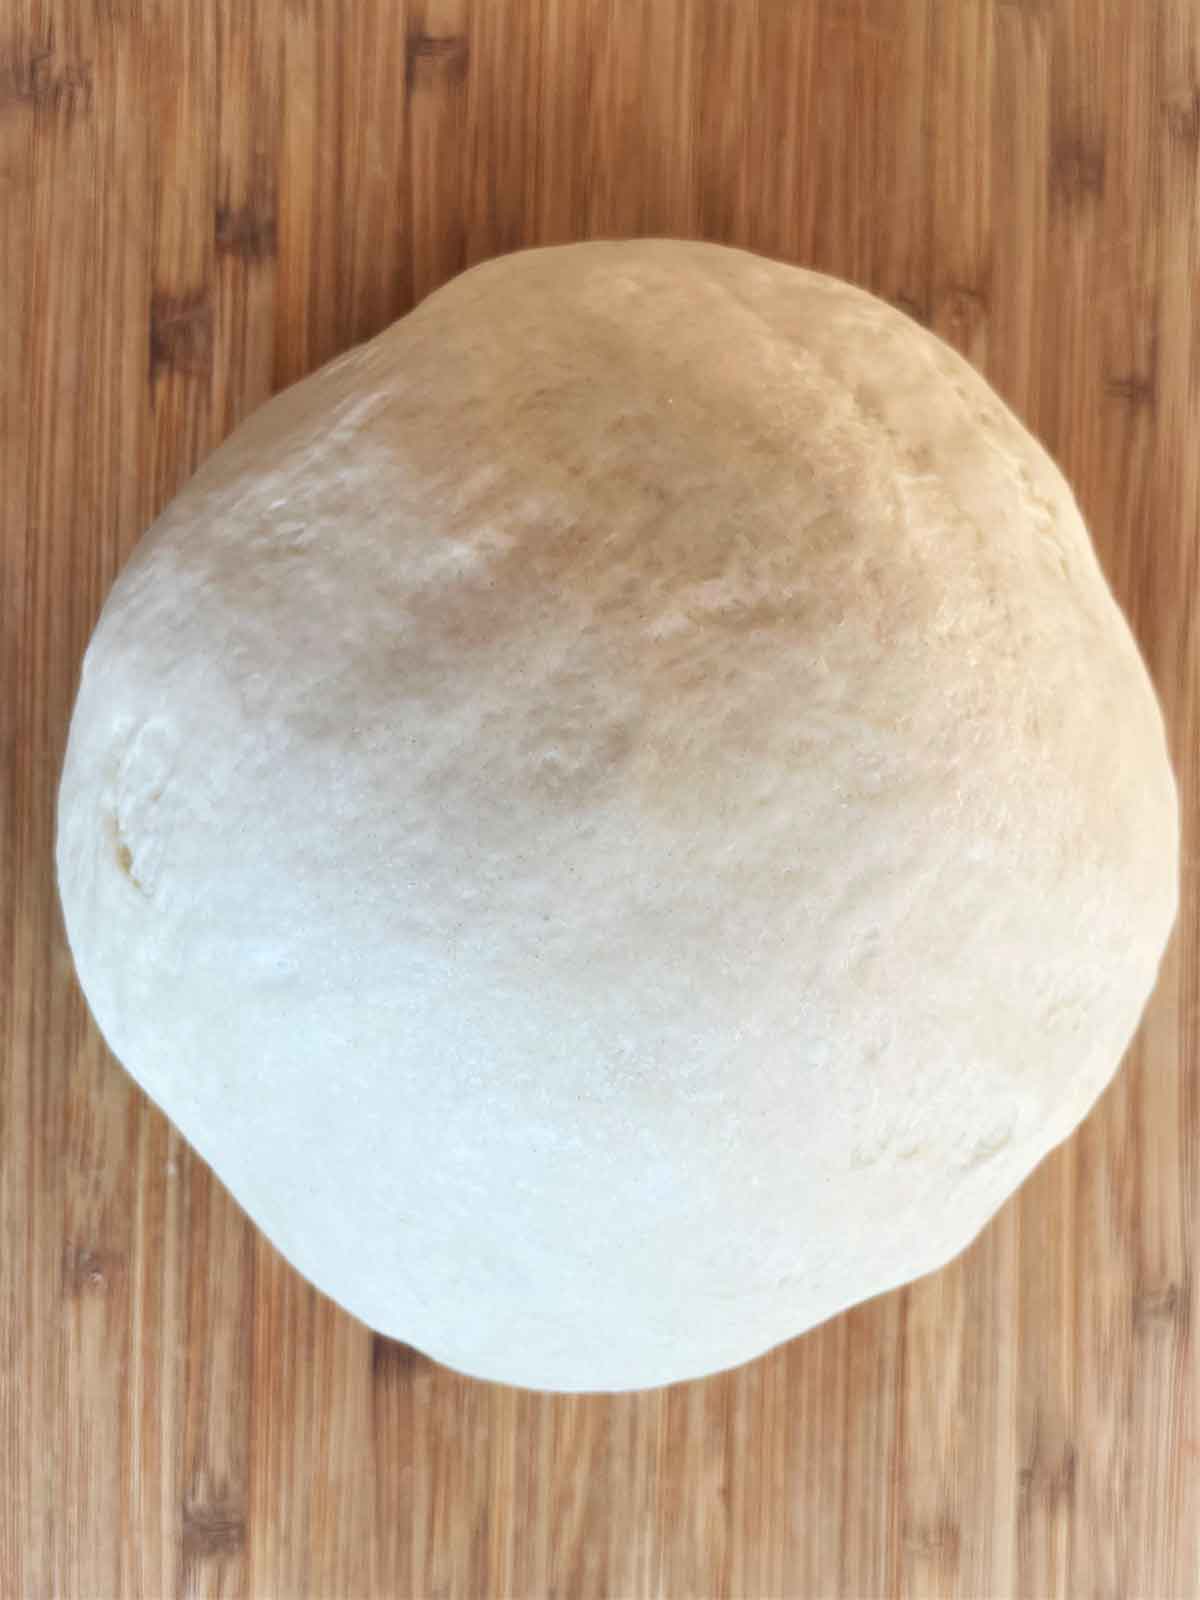
- Once the dough is well kneaded, remove it from the stand mixer hook/bowl and shape it into a ball.
Proof dough in an instant pot
- Apply oil to the base of the instant pot liner.
- Place the dough ball in the instant pot liner.
- Cover the instant pot with a glass lid.
- Select the "ygrt" button on the normal setting for 1 hour.
- The dough will rise in volume.
- Punch it down and transfer it to a lightly floured surface.
- Shape and use the dough for making your favorite bread recipe. (linked some in the notes)
Notes
- Weigh the flour using a digital food scale for consistent results.
- If the dough is sticky, use additional flour while kneading.


Kathleen Mencl says
My IP doesn’t have a yogurt setting, can I use manual and for how long?
Alpa Jain says
Hi Kathleen,
The manual function would be too hot and might cook the dough from the bottom.
One option would be to warm the Instant Pot for 2-3 minutes, place the dough in a smaller bowl and then place the bowl inside the pot and cover the Pot with a glass lid. Hopefully this should work, I have not tried it though.
Regards,
Alpa
Joy elliott says
If you don’t have a glass lid do you have any suggestions ?
Alpa Jain says
Hi Joy,
You can use any lid or a plate that can cover the pot well. You don't want any air to go inside it. The main reason for not using the instant pot lid is that it can get locked.
Hope this helps
Regards
Alpa
Candace says
You give the steps perfectly! Thanks for the help!
Alpa Jain says
Hi Candace,
Thankyou for your feedback. I am glad you liked my post.
Regards
Alpa