
Roti dough or chapati dough is made with whole wheat flour or atta and is used to make Indian flatbread or roti. It may sound very tedious to knead it by hand and especially every day to make fresh roti.
There are a lot of options to knead roti dough and now you can easily make with absolutely no effort. A stand mixer is a very popular choice to make chapati dough and other types of bread dough. Other options are using food processor and bread maker.
You can check out my post on kneading bread dough in the stand mixer and proofing it in the instant pot. I have a 5 qt. KitchenAid bowl lift stand mixer is very sturdy and can knead roti dough as well as bread dough.
Roti dough ingredients
Roti, also known as chapati or phulka is a very common Indian bread. Roti dough is made with only 2 ingredients, stone-ground whole wheat flour called atta, and water. Adding oil and salt is optional but when you are making paratha you can add it.
I like to use the Sujata Gold atta from the Indian grocery stores. There are other brands as well like Laxmi, and Swarna which I have tried and are of good quality. The flatbread comes out soft and tasty.
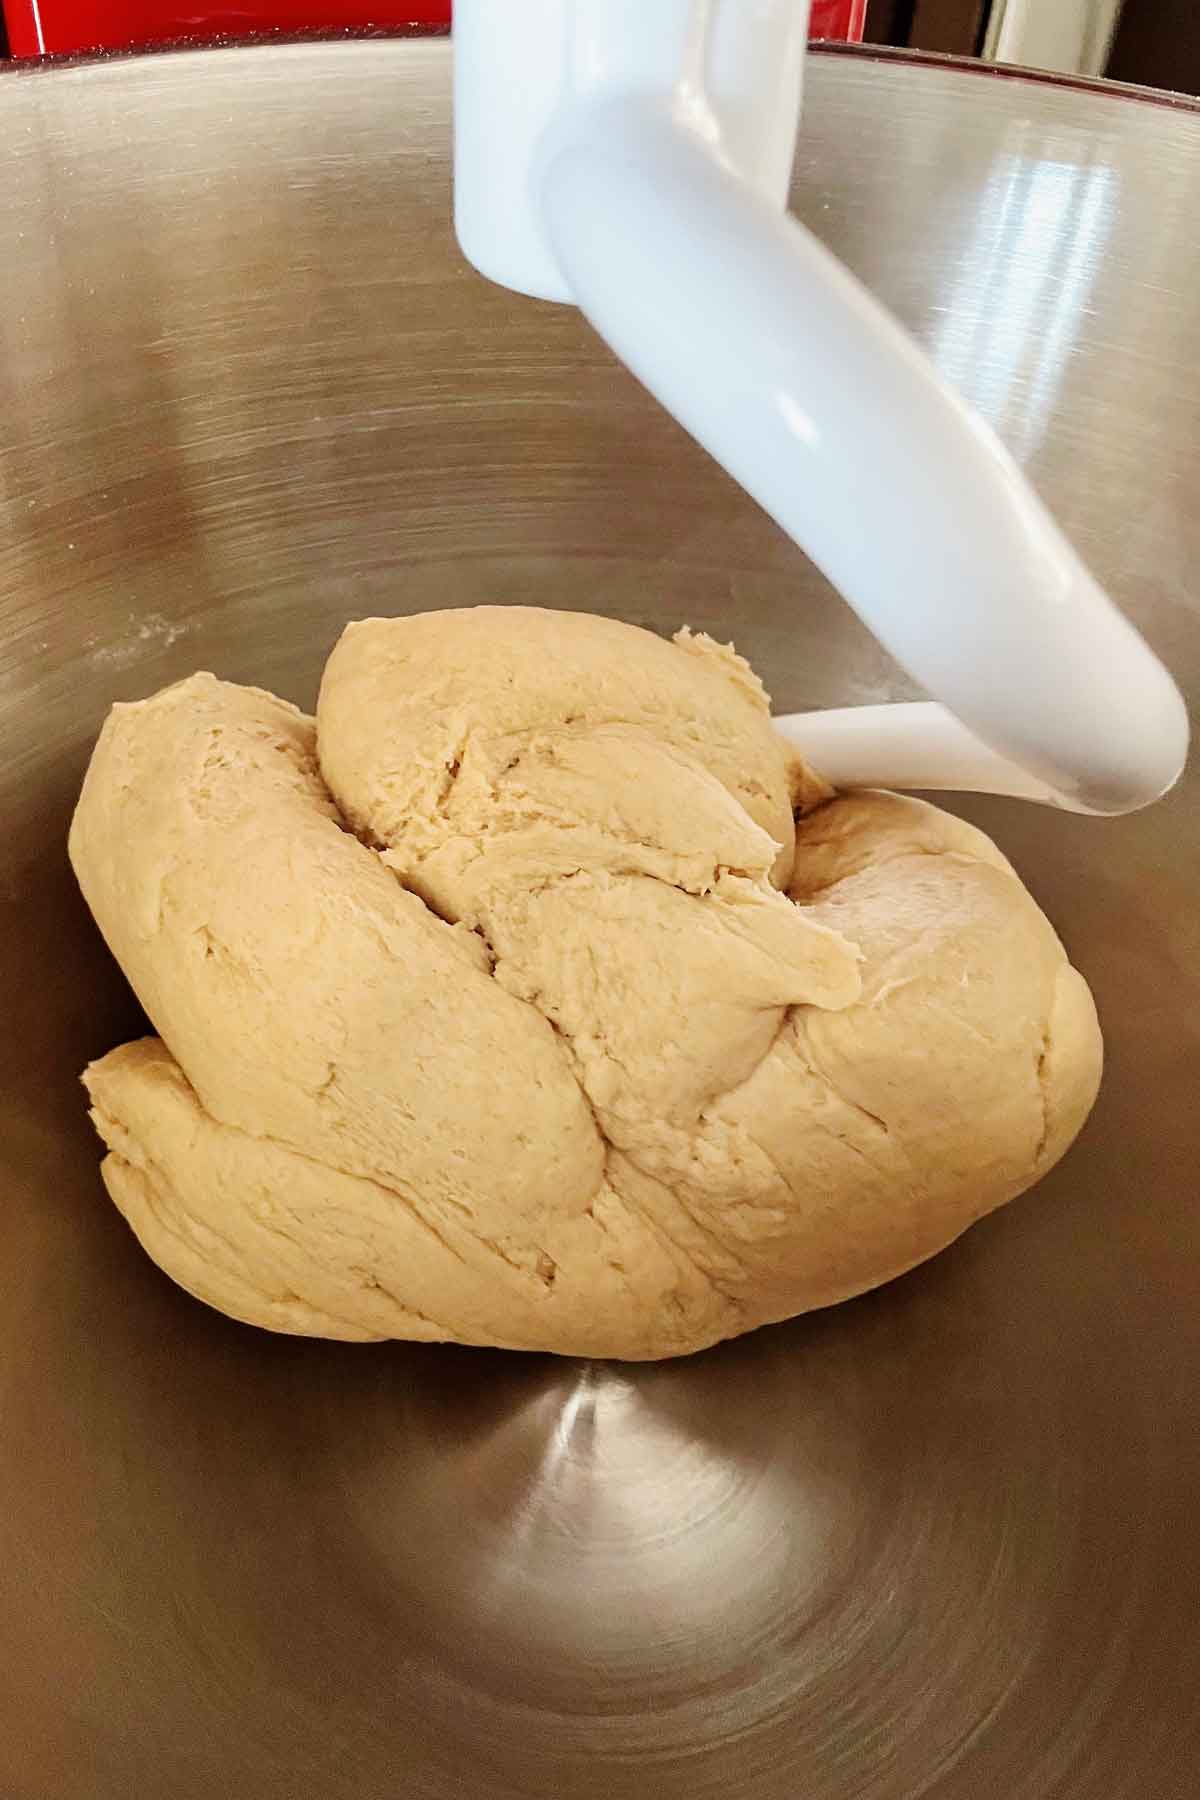
How to make roti dough?
Roti dough can be made easily and effortlessly in the KitchenAid stand mixer. The most important thing while kneading dough is to maintain the ratio of flour to water, else the dough can end up being sticky or hard.
From my experience, when using any flour, it is best to weigh it with a digital food scale instead of measuring with a cup to get consistent results every time. When you scoop the flour directly from a bag into a cup, the cup can be more densely packed and you might end up adding more flour than is needed in the recipe.
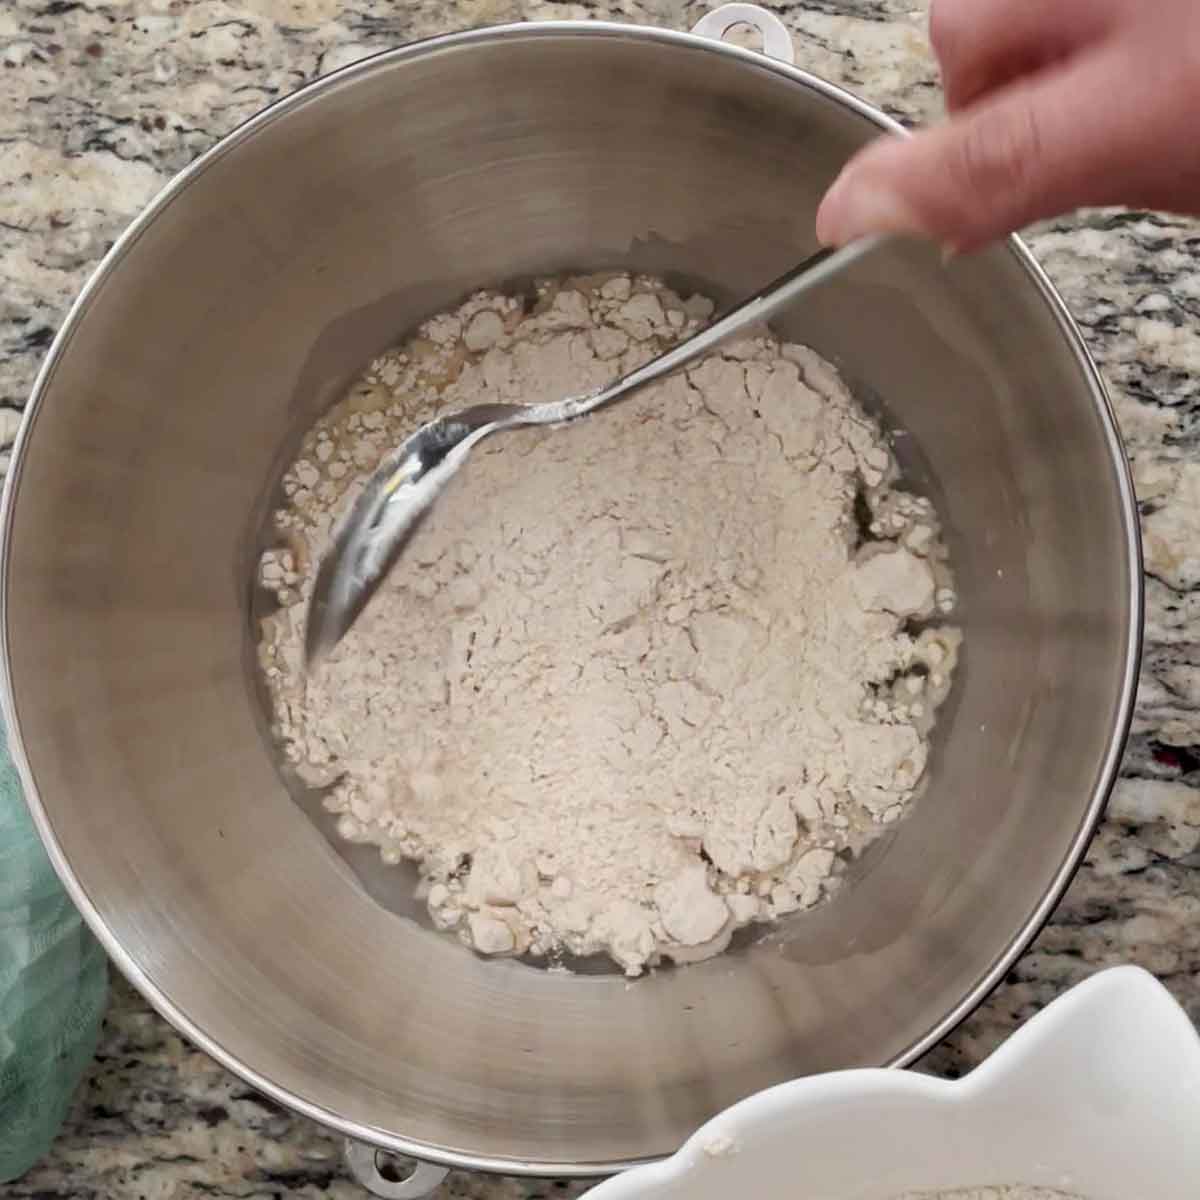
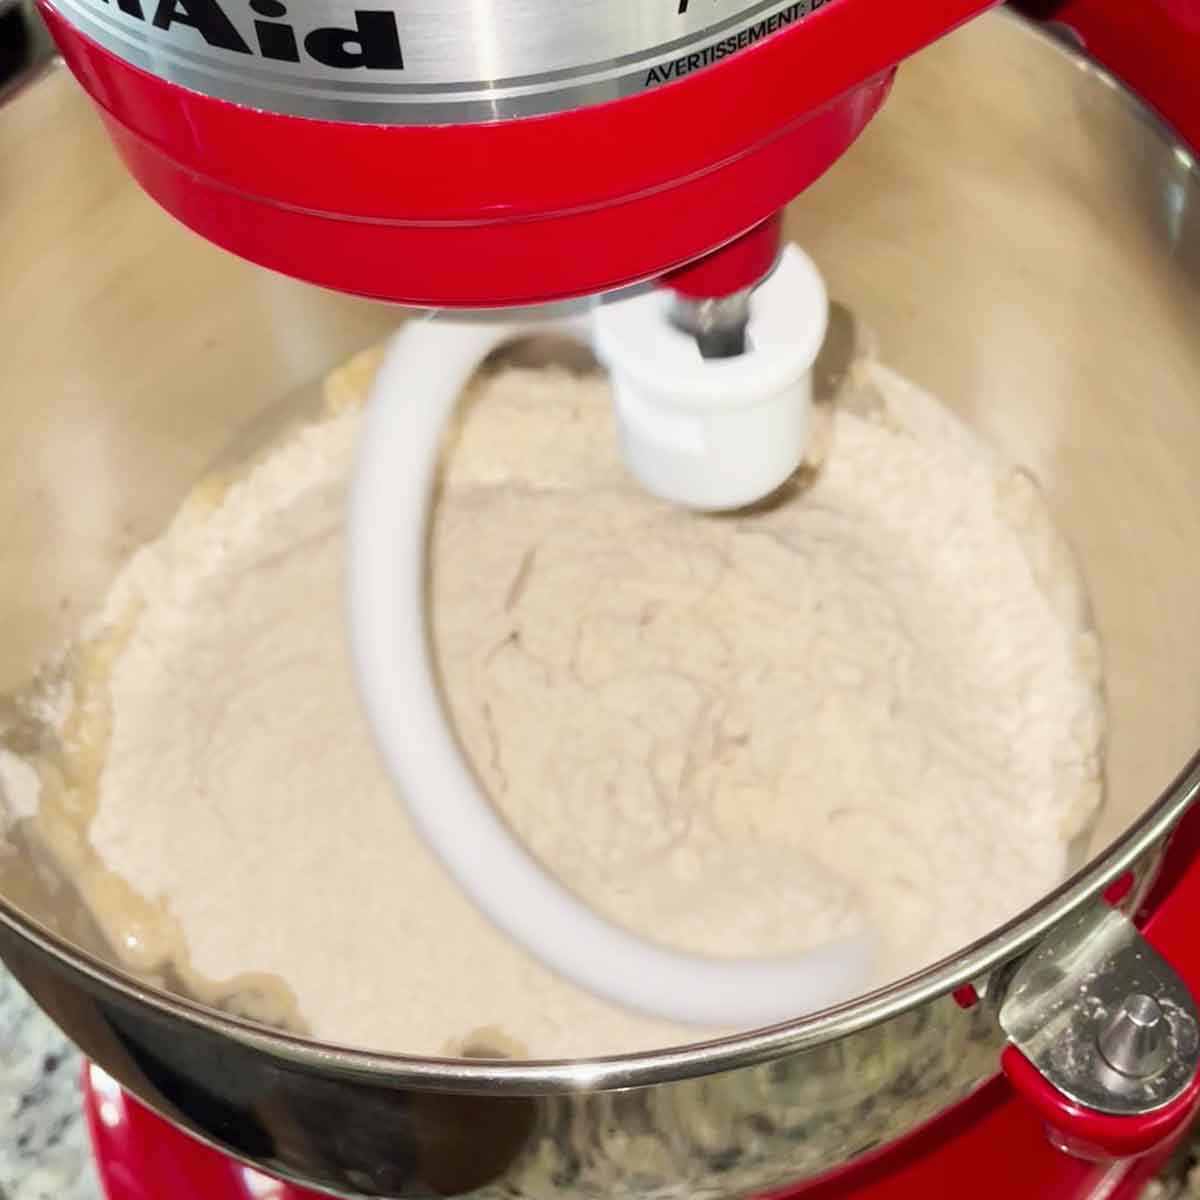
So, I always like to weigh the flour to make roti dough and the ratio of 1 cup of water to 300 grams of flour works the best for a soft, non-sticky dough.
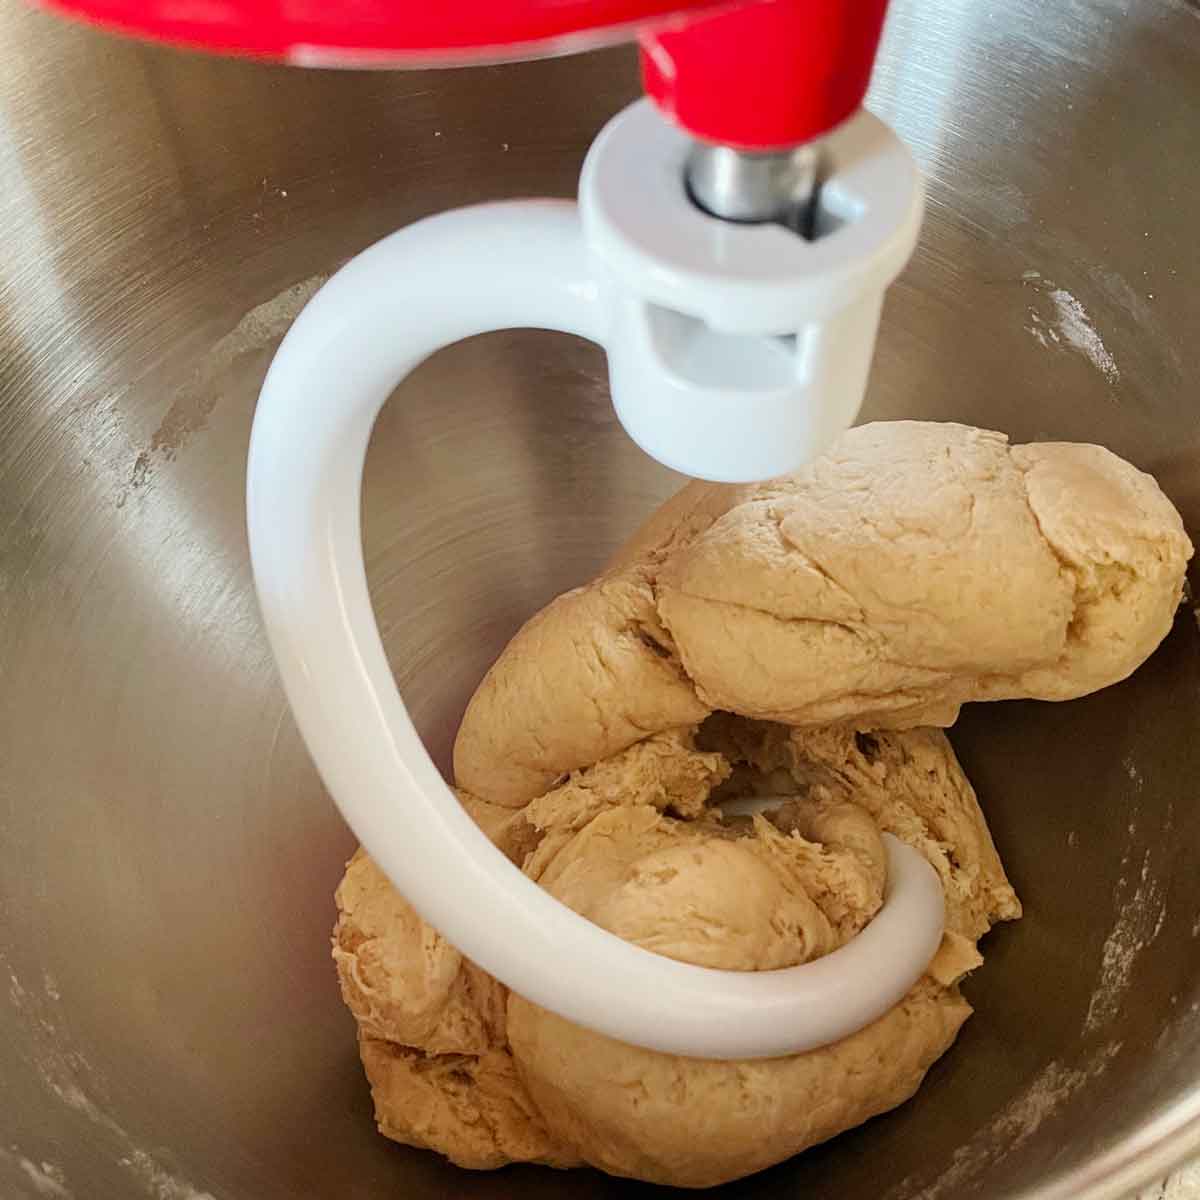
To make the chapati dough, pour water into the stand mixer bowl and then weigh and add the flour. Put the bowl into the stand mixer and then attach the dough hook. The dough hook is what helps to knead the dough, any other attachment will not do the task.
Start the mixer on setting 2 and continue to knead into a soft dough. In between, if needed you can add more flour or water to adjust the consistency of the dough. Once the dough is made, you can roll the roti and roast it in a skillet. Check out my detailed post on how to make roti.
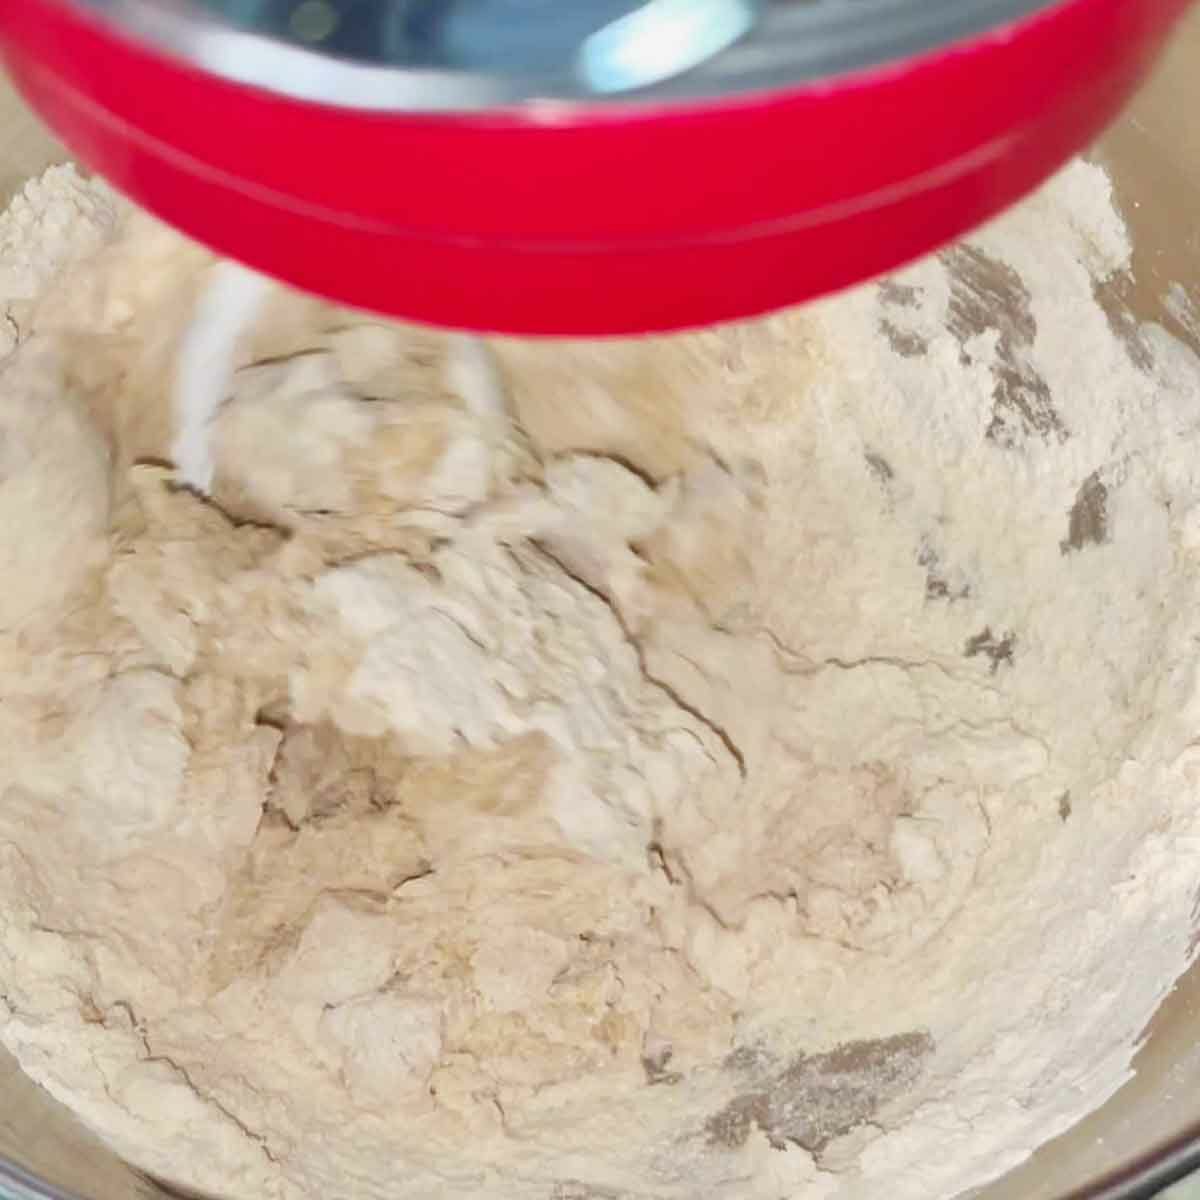
How long should you knead roti dough?
Roti dough will take about 3-5 minutes to make a soft, non-sticky dough. Sometimes you might have to add more flour or water to make the dough of perfect consistency. If you end up adding more flour or water, it may take a minute or two more while kneading.
Should roti dough be sticky?
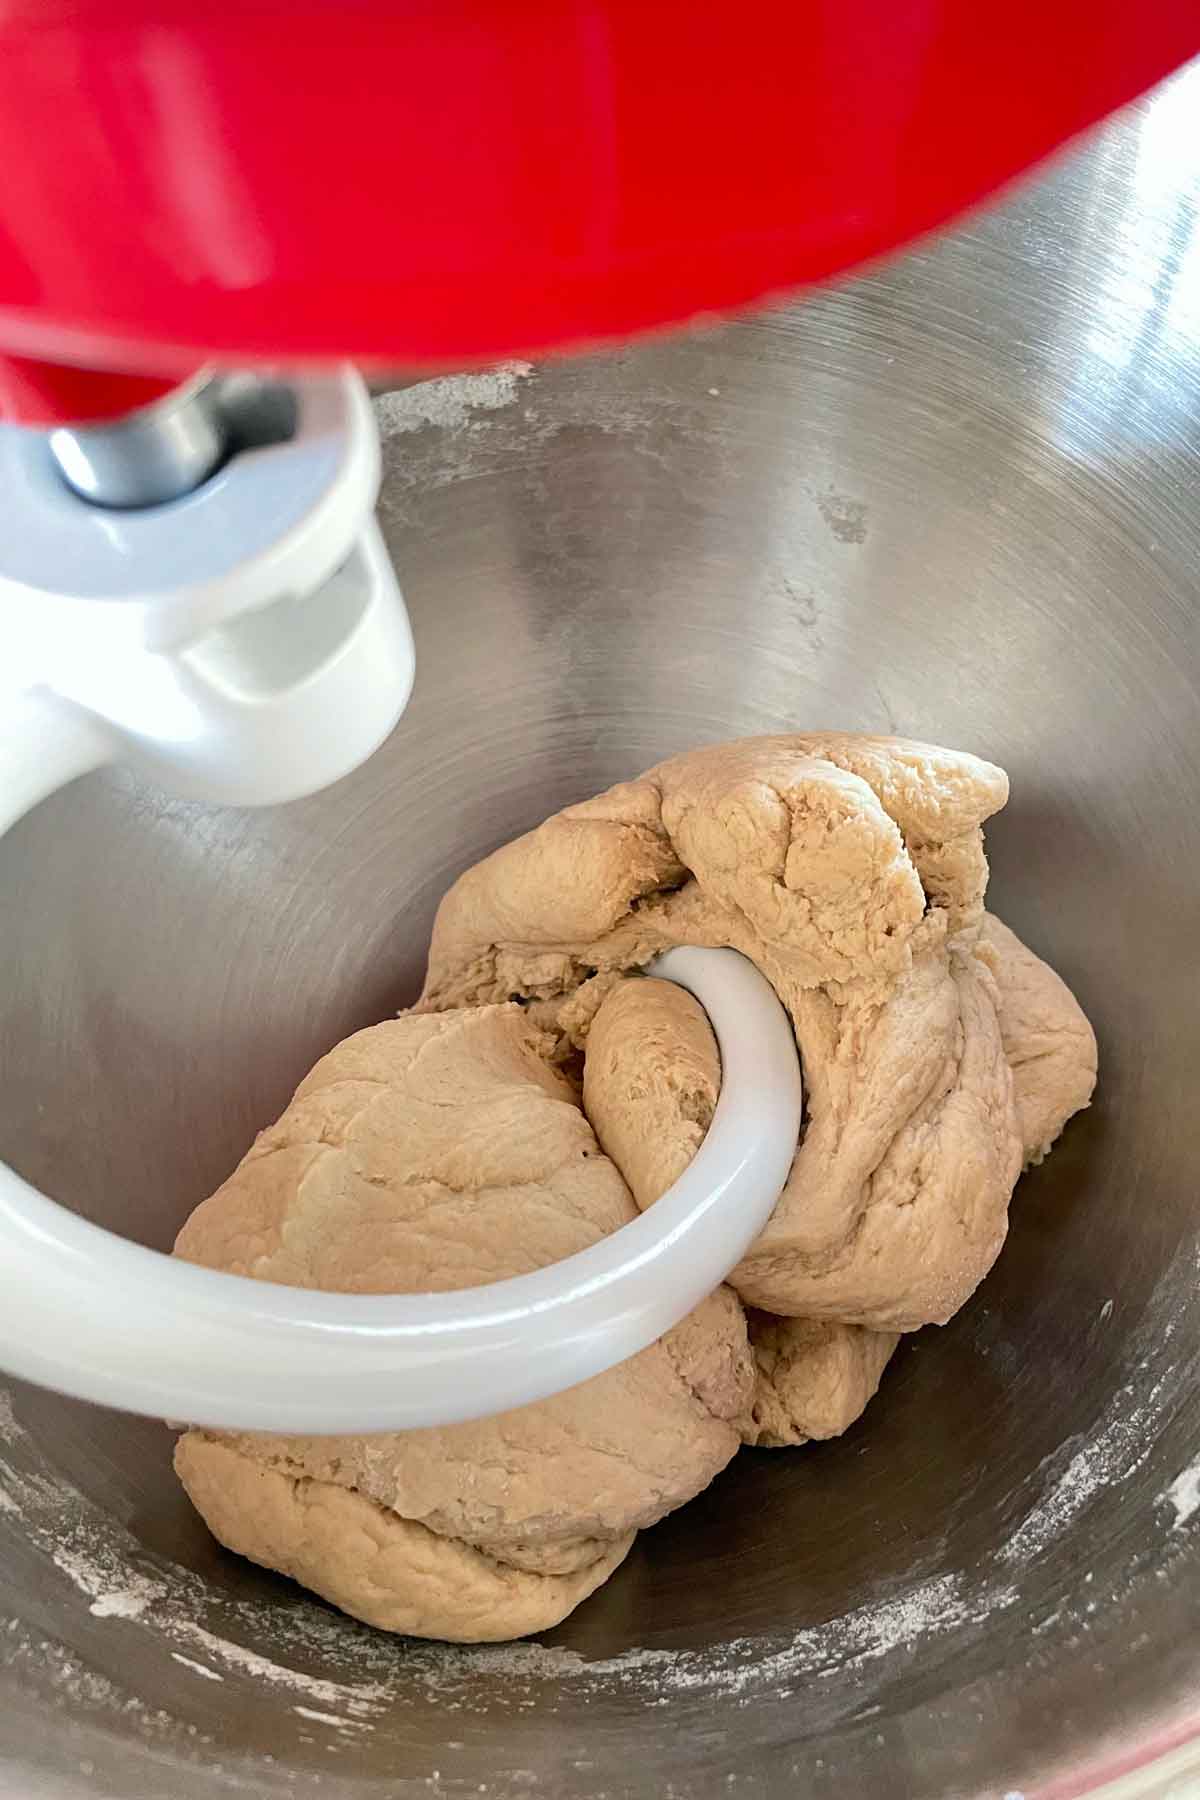
Roti dough should not be sticky but soft when touched. If it is sticky, it will also stick to the inside of the bowl. In that case, you can add a little more flour and knead it for a few more minutes.
Why is my roti dough so hard?
When you end up adding more flour than needed, then the dough can become stiff or too dry. You can add a little water and continue to knead the dough for a few more minutes until it is of desired consistency.
Can you make roti dough in advance?
Yes! Roti dough can be made in advance either a few hours ahead of time or even a few days. If you are planning to use it in a few hours, you can apply some ghee or oil and coat it, and keep it covered in a bowl.
Can roti dough be refrigerated?
Roti dough can be made ahead of time or if you have any remaining dough, you can store it in the fridge in an air-tight container for 2-3 days. When you want to use it to make roti, simply reheat it in the microwave for about 15-20 seconds or more to get it to room temperature.
Once the chapati dough is stored, it gets a little oxidized and hence you may see that it has turned a little dark or has some black spots. It is absolutely fine to use the dough.
Can roti dough be frozen?
Just like most bread dough, roti dough can be frozen in food-safe containers in the freezer. When you want to use it, simply put it in the fridge overnight and then use it to make roti.
However, making roti dough in the KitchenAid stand mixer is so convenient that you will not think of making too much dough in bulk and freezing it. You can make it much more often and make fresh roti easily.

If you enjoyed this recipe you may also like
Don't forget to rate the recipe by clicking the stars. Also, pin the recipe by clicking the "Pin" button, for your future reference.
📖 Recipe
How to make Roti Dough in KitchenAid Stand Mixer
Watch Video
Equipment
Ingredients
- 300 grams Whole wheat flour (atta) (2 ½ cup
- 1 cup Water
Instructions
- Add water in the stand mixer bowl.
- Weigh and add the flour to the stand mixer bowl.
- Place the bowl in the stand mixer.
- Attach the dough hook.
- Start kneading on setting 2 for about 3-5 minutes.
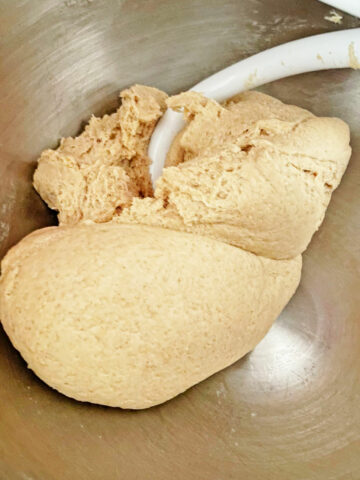
- Once the dough gets well kneaded and attached to the hook, change the setting to 0 and stop kneading.
- Dough is ready to make soft roti.
Notes
- Weighing the flour gives consistent results every time.
- If you do not have a weighing scale add 2 cups of flour per cup of water and then add more flour or water as needed while kneading.
- To make paratha dough, add some oil, salt, and optionally nigella seeds.
- You can store the dough in the fridge in an air-tight container for 2-3 days. While reusing, microwave it for about 15-20 seconds.






Comments
No Comments